

Furniture Restoration Tips: Choosing and Using the Right Sandpaper
When it comes to furniture restoration, sanding is an essential step in achieving a smooth and polished finish. However, choosing the right sandpaper can be a daunting task, considering the wide variety of options available in the market. In this article, we will guide you through the process of selecting and using the right sandpaper for your furniture restoration projects. We will explore different types of sandpaper, their grit sizes, and their specific applications. By the end of this article, you will have a clear understanding of how to choose the right sandpaper for your furniture restoration needs.
Understanding Sandpaper
Sandpaper, also known as abrasive paper, is a versatile tool used for smoothing surfaces and removing unwanted material. It consists of a backing material coated with abrasive particles. The abrasive particles can be made of various materials such as aluminum oxide, silicon carbide, or garnet. The backing material can be paper, cloth, or a combination of both.
There are different types of sandpaper available, each designed for specific applications. Let’s take a closer look at some of the most commonly used types:
1. Aluminum Oxide Sandpaper
Aluminum oxide sandpaper is one of the most popular choices for general-purpose sanding. It is durable, long-lasting, and suitable for sanding a wide range of materials, including wood, metal, and plastic. It is available in various grit sizes, ranging from coarse to fine.
Example: If you are working on a wooden table that requires moderate sanding to remove scratches and imperfections, you can start with a medium-grit aluminum oxide sandpaper, such as 120 or 150 grit. Once the surface is smooth, you can switch to a finer grit, such as 220 or 320, for a polished finish.
2. Silicon Carbide Sandpaper
Silicon carbide sandpaper is known for its sharp cutting edges and fast cutting action. It is commonly used for sanding hard materials such as glass, ceramics, and stone. It is also suitable for sanding metal surfaces. Silicon carbide sandpaper is available in various grit sizes, ranging from coarse to extra fine.
Example: If you are restoring a metal chair with rusted areas, you can start with a coarse-grit silicon carbide sandpaper, such as 80 or 100 grit, to remove the rust. Once the rust is removed, you can switch to a finer grit, such as 180 or 220, to smooth the surface before applying a new coat of paint.
3. Garnet Sandpaper
Garnet sandpaper is a natural abrasive that is gentle on surfaces. It is commonly used for sanding wood and is particularly effective in removing old finishes and paint. Garnet sandpaper is available in various grit sizes, ranging from coarse to fine.
Example: If you are refinishing a wooden cabinet that has multiple layers of paint, you can start with a coarse-grit garnet sandpaper, such as 80 or 100 grit, to remove the old paint. Once the paint is removed, you can switch to a finer grit, such as 120 or 150, to smooth the surface before applying a new finish.
The Best Sandpaper for Furniture
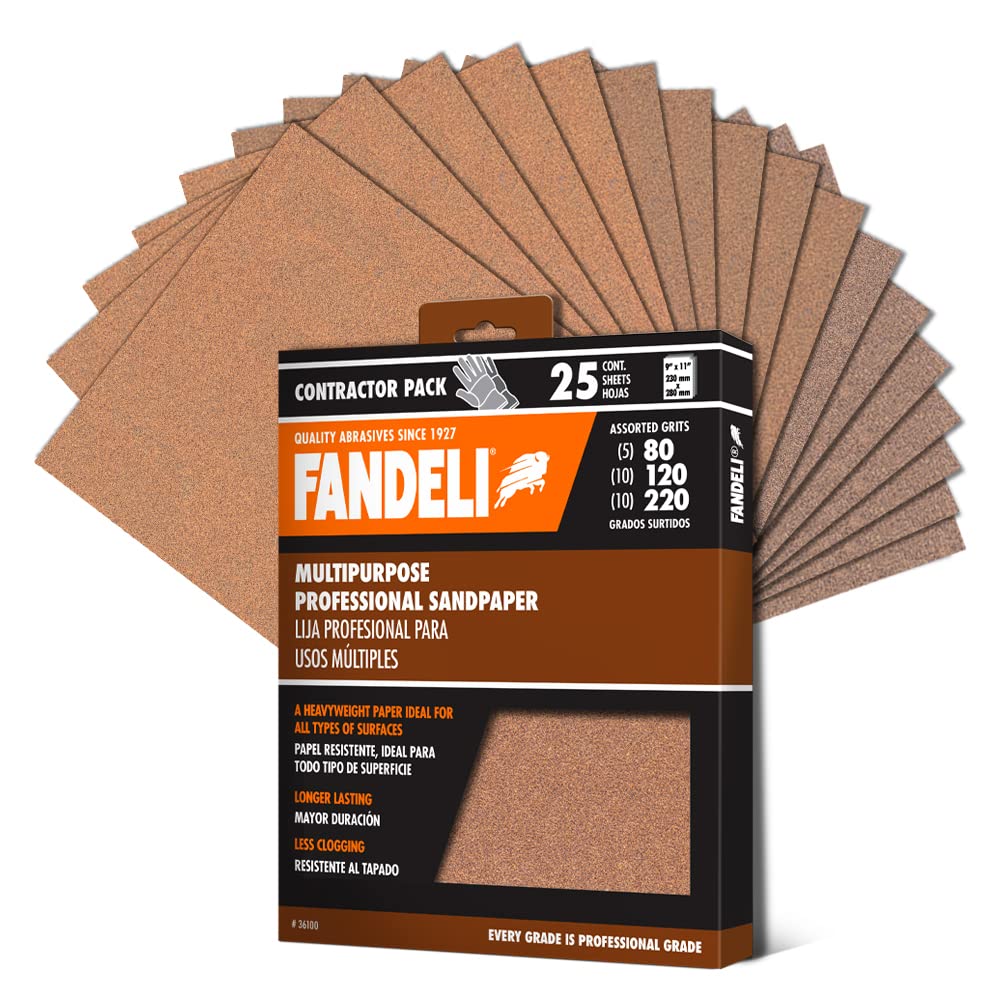
Fandeli Multi-Purpose Sanding Paper

BLACK+DECKER 2.0 Amp Electric 1/4 Sheet Orbit Sander
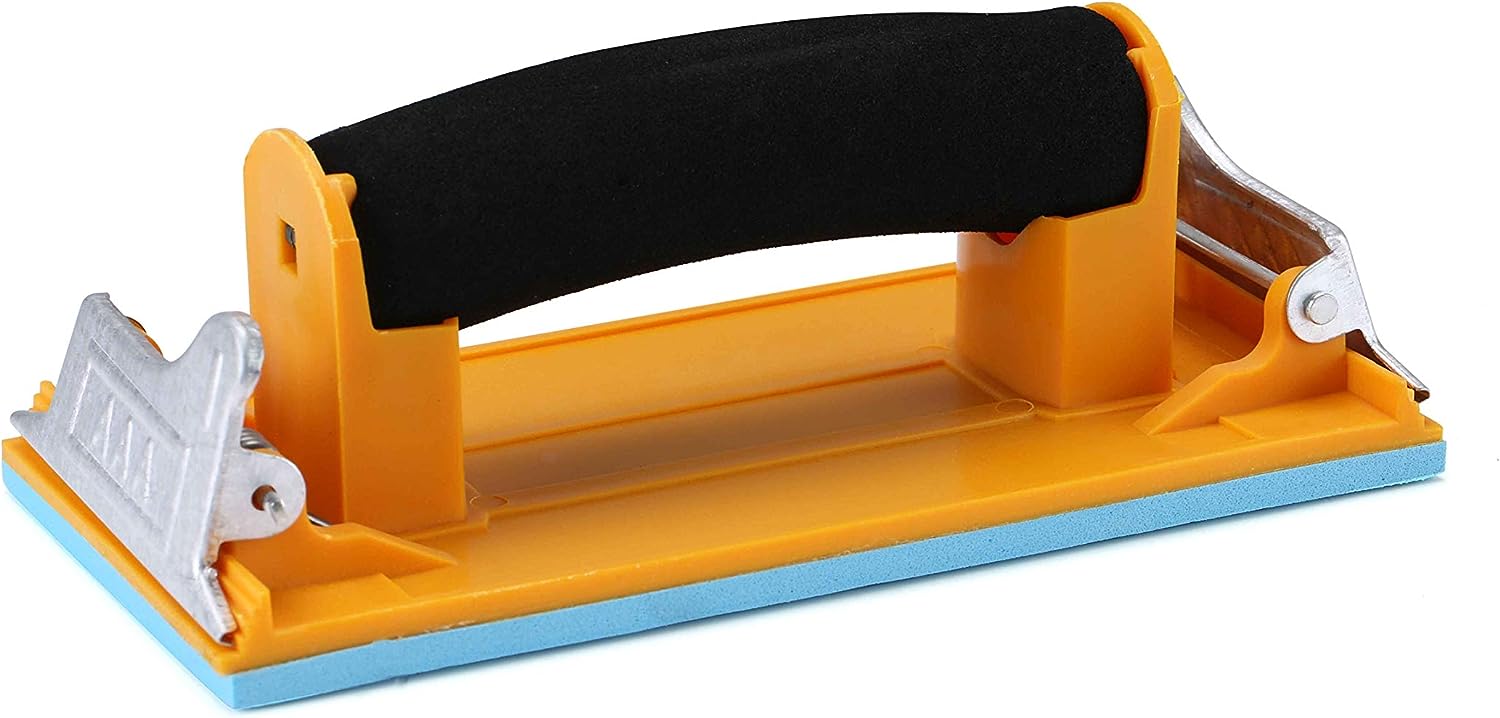
Aouker HS85180 Hand Sander
Choosing the Right Grit Size
The grit size of sandpaper determines its coarseness or fineness. It is represented by a number, which indicates the number of abrasive particles per square inch of the sandpaper. The lower the grit number, the coarser the sandpaper, and vice versa. Choosing the right grit size is crucial for achieving the desired result in furniture restoration.
Here are some general guidelines to help you choose the right grit size:
- Coarse Grit Sandpaper (40-80 grit): Use coarse grit sandpaper for heavy material removal, such as stripping paint or removing deep scratches.
- Medium Grit Sandpaper (100-150 grit): Use medium grit sandpaper for moderate material removal and surface smoothing.
- Fine Grit Sandpaper (180-220 grit): Use fine grit sandpaper for light material removal and achieving a smooth surface.
- Extra Fine Grit Sandpaper (240-400 grit): Use extra fine grit sandpaper for final sanding and achieving a polished finish.
It is important to note that the grit sizes mentioned above are general guidelines and may vary depending on the specific project and the material being sanded. Always start with a coarser grit and gradually move to finer grits for the best results.
Using Sandpaper
Now that you have chosen the right sandpaper for your furniture restoration project, it’s time to learn how to use it effectively. Here are some tips to help you get the most out of your sandpaper:
1. Prepare the Surface
Before you start sanding, make sure the surface is clean and free from dust, dirt, and any loose particles. Use a brush or a vacuum cleaner to remove any debris. If there are any deep scratches or gouges, you may need to fill them with wood filler or putty before sanding.
2. Sand in the Direction of the Grain
When sanding wood, always sand in the direction of the grain to avoid damaging the surface. Sanding against the grain can leave visible scratches that are difficult to remove. If you are unsure of the direction of the grain, sand in a diagonal motion.
3. Use Light Pressure
Apply light pressure when sanding to avoid removing too much material or creating uneven surfaces. Let the sandpaper do the work and allow it to glide smoothly over the surface. Applying excessive pressure can result in gouges and scratches.
4. Change Sandpaper Regularly
As you sand, the abrasive particles on the sandpaper wear down, reducing its effectiveness. It is important to change the sandpaper regularly to maintain optimal sanding performance. A worn-out sandpaper can leave scratches and produce an uneven finish.
5. Sand in Progressively Finer Grits
Start with a coarser grit sandpaper and gradually move to finer grits for a smooth and polished finish. Each grit size removes the scratches left by the previous grit, resulting in a progressively smoother surface. Remember to remove any dust or debris between sanding with different grits.
6. Use Sanding Blocks or Tools
Using sanding blocks or tools can help you achieve a more even and consistent sanding result. Sanding blocks provide a flat and stable surface, allowing you to apply even pressure across the entire surface. They also help prevent your fingers from getting tired or sore during extended sanding sessions.
7. Consider Wet Sanding
Wet sanding involves using water or a lubricant to reduce friction and improve the sanding process. It is particularly useful for sanding finishes, such as varnish or lacquer, as it helps prevent clogging of the sandpaper. Wet sanding can also produce a smoother surface and reduce the amount of dust generated.
Conclusion
Choosing and using the right sandpaper is crucial for achieving a professional-looking finish in furniture restoration projects. By understanding the different types of sandpaper and their specific applications, as well as the importance of grit size and proper sanding techniques, you can ensure that your furniture restoration projects are successful. Remember to start with a coarser grit and gradually move to finer grits, always sand in the direction of the grain, and use light pressure. With the right sandpaper and proper technique, you can transform old and worn-out furniture into beautiful pieces that will stand the test of time.


