
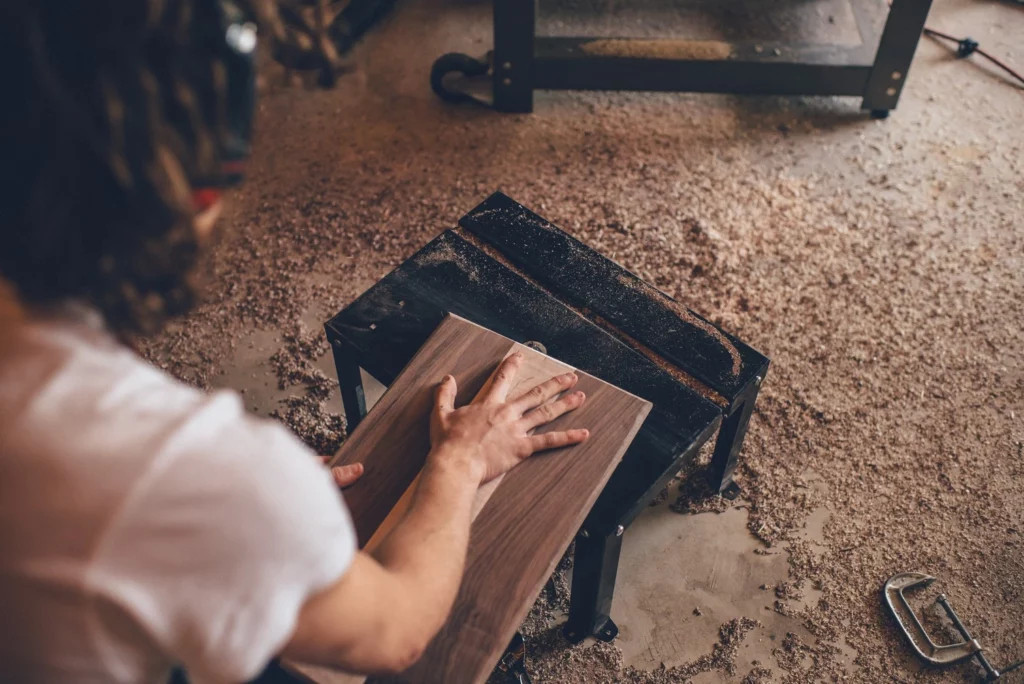
Sandpaper, also known as abrasive paper, is a versatile tool used in various industries and applications. It consists of a sheet of paper or cloth with an abrasive material attached to its surface. The abrasive material, commonly made of minerals like aluminum oxide, silicon carbide, or garnet, helps in smoothing surfaces, removing material, and creating different textures and finishes. In this article, we will explore the impact of sandpaper on paper textures and finishes, discussing its various types, applications, and techniques.
The Best Sandpaper for Paper

Emery Cloth Roll, 5 Grits Abrasive Sandpaper Rolls

BLACK+DECKER 2.0 Amp Electric 1/4 Sheet Orbit Sander
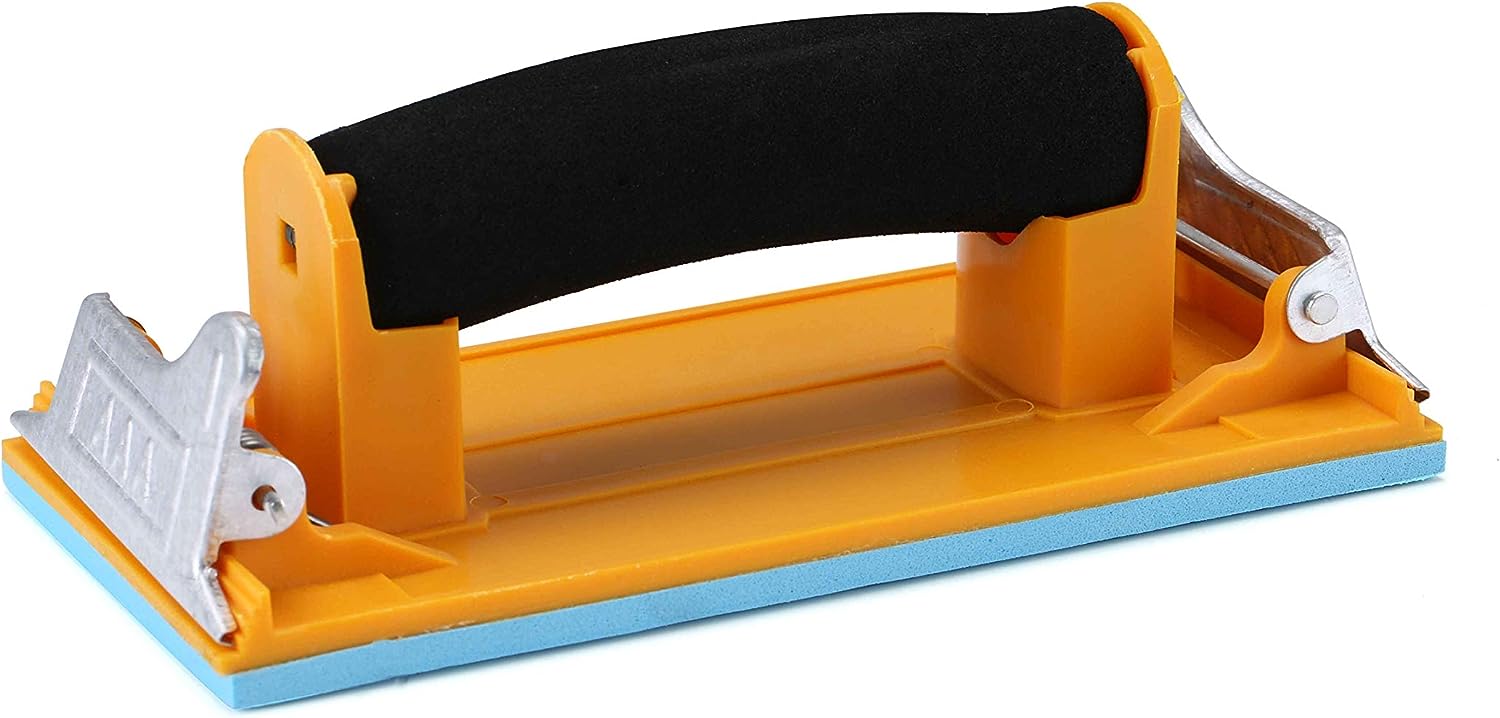
Aouker HS85180 Hand Sander
Types of Sandpaper
There are several types of sandpaper available in the market, each designed for specific purposes and materials. Understanding the different types can help you achieve the desired texture and finish on paper. Some common types of sandpaper include:
- Aluminum Oxide Sandpaper: This type of sandpaper is widely used for general sanding purposes. It is durable and suitable for sanding wood, metal, and painted surfaces.
- Silicon Carbide Sandpaper: Known for its sharpness, silicon carbide sandpaper is ideal for sanding hard materials like glass, ceramics, and stone.
- Garnet Sandpaper: Garnet sandpaper is commonly used for woodworking projects. It is less aggressive than other types and provides a smooth finish.
- Wet Dry Sandpaper: As the name suggests, wet dry sandpaper can be used both in wet and dry conditions. It is suitable for automotive refinishing, metal polishing, and woodworking.
Applications of Sandpaper on Paper
Sandpaper can be used on paper to create various textures and finishes, enhancing the overall appearance and feel of the paper. Let’s explore some common applications:
1. Paper Sculptures and Artwork
Sandpaper is often used in paper sculptures and artwork to add texture and depth. By sanding specific areas of the paper, artists can create unique patterns and designs. For example, sanding the edges of a paper sculpture can give it a weathered and aged look, adding character to the artwork.
2. Paper Restoration
When restoring old and damaged paper, sandpaper can be used to remove stains, discoloration, and imperfections. By carefully sanding the surface, conservators can bring back the original texture and finish of the paper. This technique is commonly used in the restoration of historical documents, maps, and artworks.
3. Paper Finishing Techniques
Sandpaper is also used in various paper finishing techniques to create unique textures and finishes. Some popular techniques include:
- Burnishing: By rubbing sandpaper on the surface of the paper, artists can achieve a smooth and polished finish. This technique is commonly used in printmaking to enhance the appearance of prints.
- Embossing: Sandpaper can be used to create embossed patterns on paper. By sanding specific areas, artists can raise the surface, adding dimension and texture to the paper.
- Distressing: Sandpaper is often used to distress paper, giving it an aged and worn-out look. This technique is popular in scrapbooking and vintage-themed artwork.
Techniques for Sanding Paper
When sanding paper, it is important to follow proper techniques to achieve the desired results. Here are some techniques to consider:
1. Choose the Right Grit
The grit of the sandpaper determines its coarseness and aggressiveness. Lower grit numbers indicate coarser sandpaper, while higher grit numbers indicate finer sandpaper. Choosing the right grit is crucial for achieving the desired texture and finish. For example, a coarse grit sandpaper (around 60-80 grit) can be used to remove material quickly, while a fine grit sandpaper (above 200 grit) is suitable for achieving a smooth finish.
2. Sand in the Right Direction
When sanding paper, it is important to sand in the right direction to avoid damaging the fibers. Sanding in the direction of the grain is generally recommended for achieving a smooth and even finish. However, for certain techniques like distressing, sanding against the grain can create interesting patterns and textures.
3. Use Light Pressure
Applying excessive pressure while sanding can lead to uneven surfaces and damage the paper. It is important to use light and even pressure to achieve consistent results. Let the sandpaper do the work and avoid pressing too hard.
4. Test on a Small Area
Before sanding the entire paper, it is advisable to test the sandpaper on a small, inconspicuous area. This allows you to assess the impact of the sandpaper on the paper and make any necessary adjustments before proceeding.
Conclusion
Sandpaper plays a significant role in shaping the textures and finishes of paper. Whether it is for creating artwork, restoring old documents, or experimenting with paper finishing techniques, sandpaper offers a wide range of possibilities. By understanding the different types of sandpaper, its applications, and following proper sanding techniques, you can achieve the desired results and enhance the overall aesthetics of your paper projects. So, the next time you embark on a paper-based endeavor, don’t forget to consider the impact of sandpaper on paper textures and finishes.


