

Creating artwork on paper requires precision and attention to detail. Whether you are a professional artist or a hobbyist, selecting the right sandpaper is crucial for achieving the desired results. Sandpaper, also known as abrasive paper, is a versatile tool that can be used to smooth, shape, and refine various surfaces. In this article, we will explore the different types of sandpaper available and provide valuable insights on how to choose the right one for your paper artwork.
The Best Sandpaper for Paper

Emery Cloth Roll, 5 Grits Abrasive Sandpaper Rolls
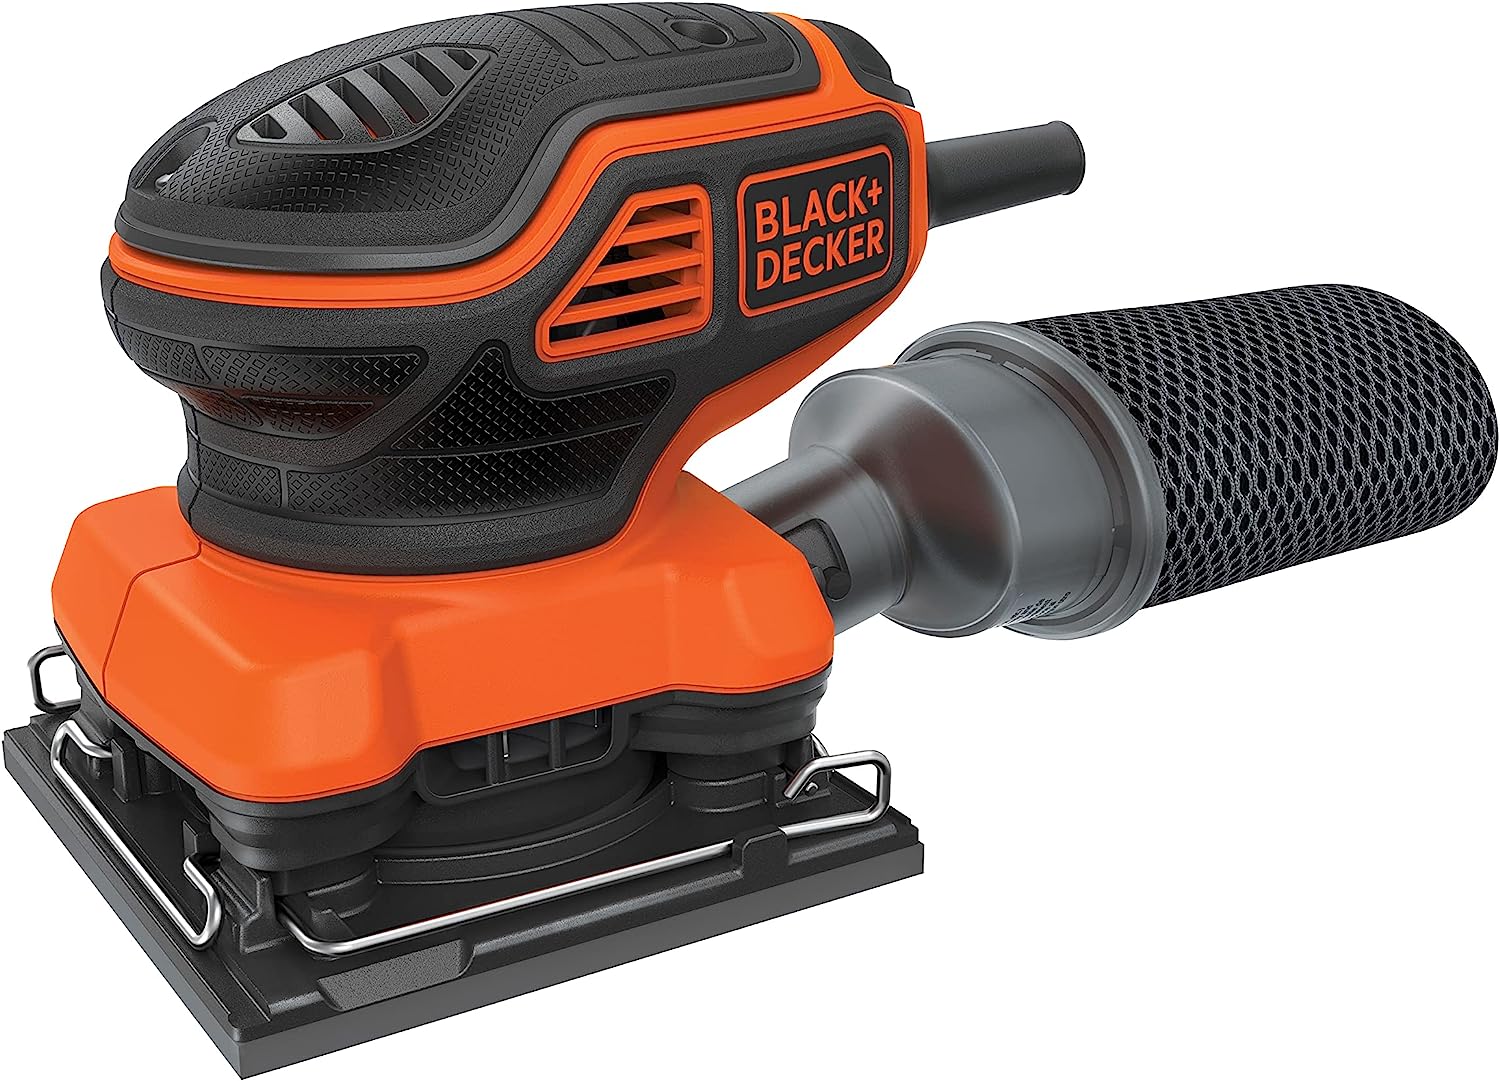
BLACK+DECKER 2.0 Amp Electric 1/4 Sheet Orbit Sander
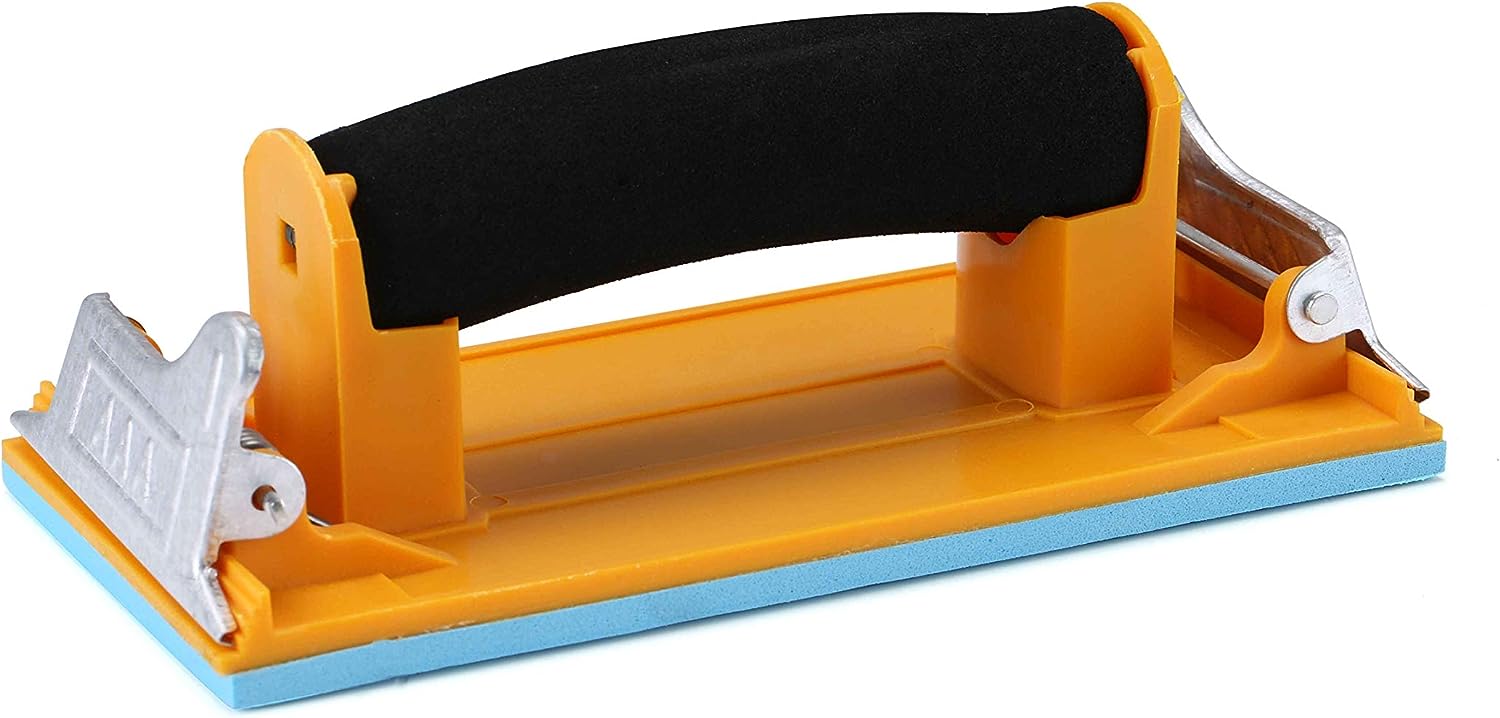
Aouker HS85180 Hand Sander
The Importance of Choosing the Right Sandpaper
When it comes to paper artwork, the choice of sandpaper can greatly impact the final outcome. Using the wrong type of sandpaper can result in damage to the paper, uneven surfaces, or even the loss of intricate details. Therefore, it is essential to understand the different types of sandpaper and their specific uses.
Types of Sandpaper
There are several types of sandpaper available in the market, each with its own unique characteristics and uses. Here are some of the most commonly used types:
- Abrasive Paper
- Sandpaper
- Grit Paper
- Emery Paper
- Sandpaper Sheets
- Sanding Blocks
- Silicon Carbide Sandpaper
- Aluminum Oxide Sandpaper
- Garnet Sandpaper
- Sandpaper Roll
- Sandpaper Discs
- Fine Grit Sandpaper
- Coarse Grit Sandpaper
- Wood Sanding Paper
- Metal Sanding Paper
- Wet Dry Sandpaper
- Automotive Sandpaper
- Sandpaper for Painting Prep
- Drywall Sandpaper
- Glass Sanding Paper
- Orbital Sander Pads
- Belt Sander Paper
- Drum Sander Paper
- Sandpaper Sponge
- Micro Grit Sandpaper
- Waterproof Sandpaper
Understanding Grit Size
One of the most important factors to consider when selecting sandpaper is the grit size. Grit size refers to the number of abrasive particles per square inch of the sandpaper. The higher the grit number, the finer the abrasive particles and the smoother the surface it can achieve.
For paper artwork, it is generally recommended to start with a lower grit sandpaper and gradually move to higher grits for a smoother finish. However, the specific grit size you choose will depend on the type of paper, the level of detail in your artwork, and the desired texture.
Choosing the Right Sandpaper for Paper Artwork
Now that we have a basic understanding of sandpaper and grit size, let’s delve into the process of selecting the right sandpaper for your paper artwork:
1. Consider the Paper Type
The type of paper you are working with plays a crucial role in determining the appropriate sandpaper. Different papers have varying levels of durability and texture. For delicate papers, such as watercolor or handmade paper, it is important to use a fine-grit sandpaper to avoid damaging the surface. On the other hand, if you are working with a thicker or more textured paper, a coarser grit sandpaper may be suitable for achieving the desired effect.
2. Assess the Level of Detail
The level of detail in your artwork will also influence your choice of sandpaper. If your artwork involves intricate designs or fine lines, a finer grit sandpaper will be necessary to preserve the details. Conversely, if your artwork consists of bold strokes or larger areas, a coarser grit sandpaper can be used to quickly remove excess material and create texture.
3. Determine the Desired Texture
The texture you want to achieve in your artwork will guide your selection of sandpaper. If you prefer a smooth and polished finish, a higher grit sandpaper will be required. However, if you want to add texture or create a rougher surface, a lower grit sandpaper can help you achieve that effect. Experimenting with different grits can give you a better understanding of the textures you can create with sandpaper.
4. Test on a Small Area
Before applying sandpaper to your entire artwork, it is advisable to test it on a small, inconspicuous area. This will allow you to assess the impact of the sandpaper on the paper and make any necessary adjustments. It is always better to be cautious and test the sandpaper on a small scale before committing to the entire artwork.
5. Use the Right Technique
Using the right technique when sanding your paper artwork is just as important as selecting the right sandpaper. Here are some tips to keep in mind:
- Apply light pressure: Excessive pressure can damage the paper or create uneven surfaces. Use a gentle touch and let the sandpaper do the work.
- Work in one direction: Sanding in a consistent direction will help you achieve a smoother and more uniform finish.
- Use a sanding block: Using a sanding block or a sanding sponge can provide better control and prevent accidental tears or folds in the paper.
- Keep the paper clean: Regularly clean the sandpaper to remove any accumulated debris or paper particles. This will ensure optimal performance and prevent scratches.
Conclusion
Selecting the right sandpaper for paper artwork is a crucial step in achieving the desired results. By considering factors such as paper type, level of detail, desired texture, and using the appropriate technique, you can enhance your artwork and create stunning effects. Remember to start with a lower grit sandpaper and gradually move to higher grits for a smoother finish. Experimentation and practice will help you develop a better understanding of the different textures and effects you can achieve with sandpaper. So, go ahead and explore the world of sandpaper to elevate your paper artwork to new heights.


