

Sanding Metal Projects: Best Practices and Sandpaper Types
When it comes to working with metal, sanding is an essential step in achieving a smooth and polished finish. Whether you are working on a DIY project or a professional job, understanding the best practices and sandpaper types for sanding metal is crucial. In this article, we will explore the various aspects of sanding metal projects, including the importance of sanding, the different types of sandpaper available, and the best practices to achieve optimal results.
The Best Sandpaper for Metal

Emery Cloth Roll, 5 Grits Abrasive Sandpaper Rolls
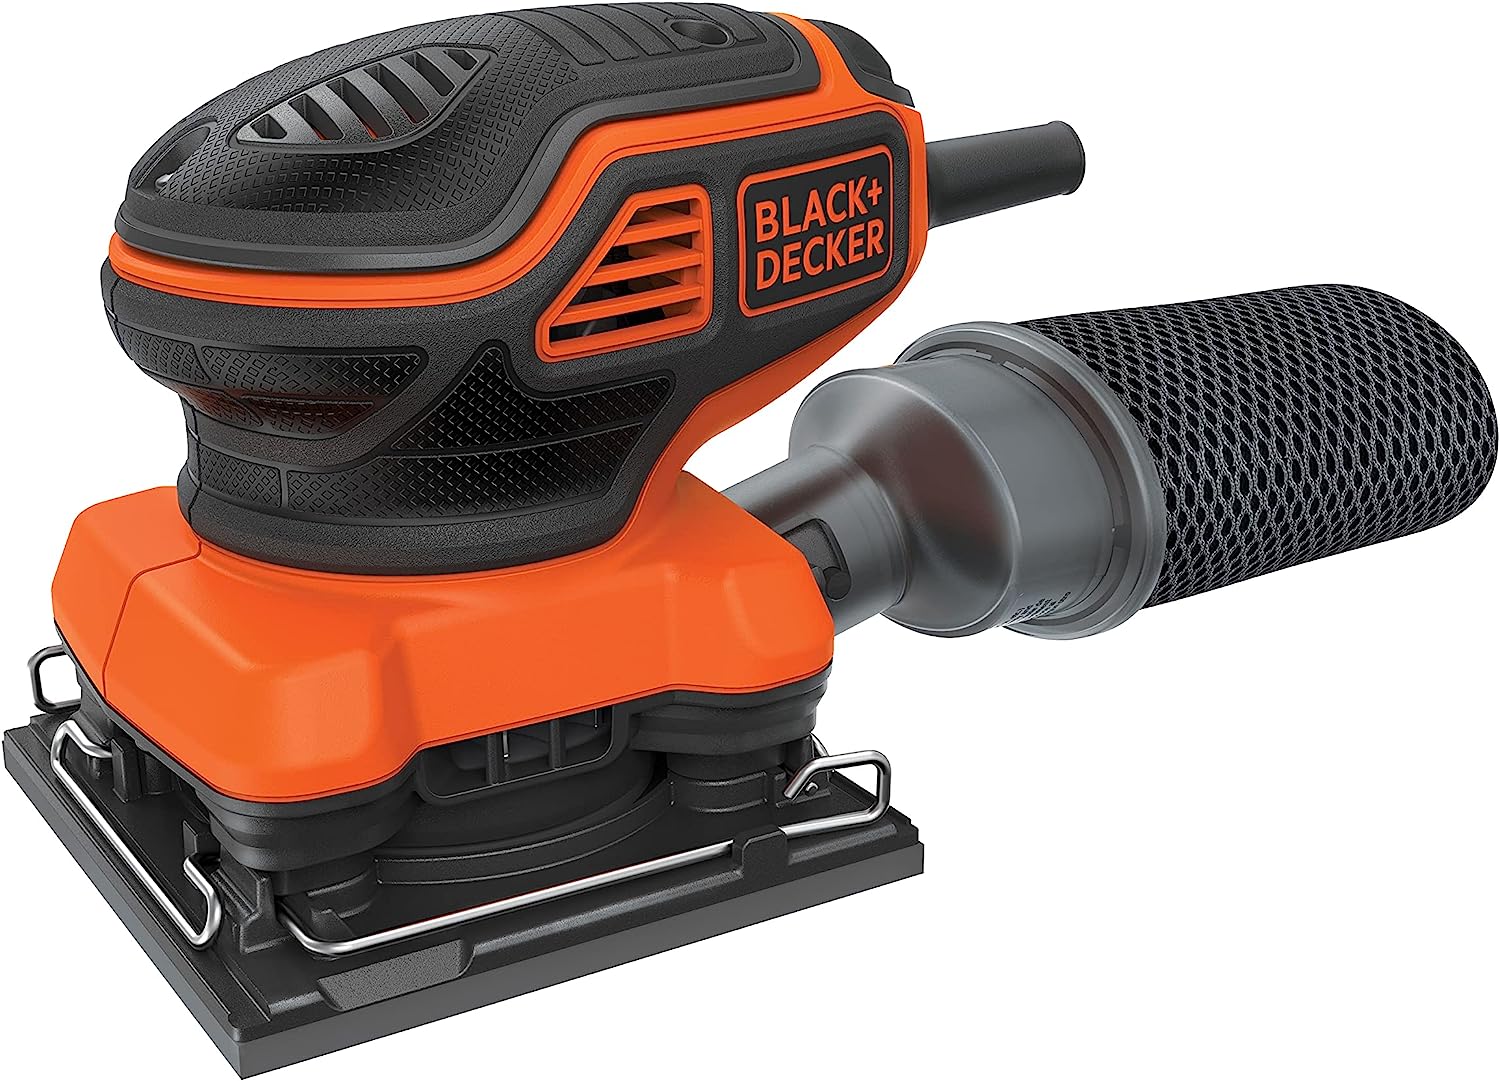
BLACK+DECKER 2.0 Amp Electric 1/4 Sheet Orbit Sander
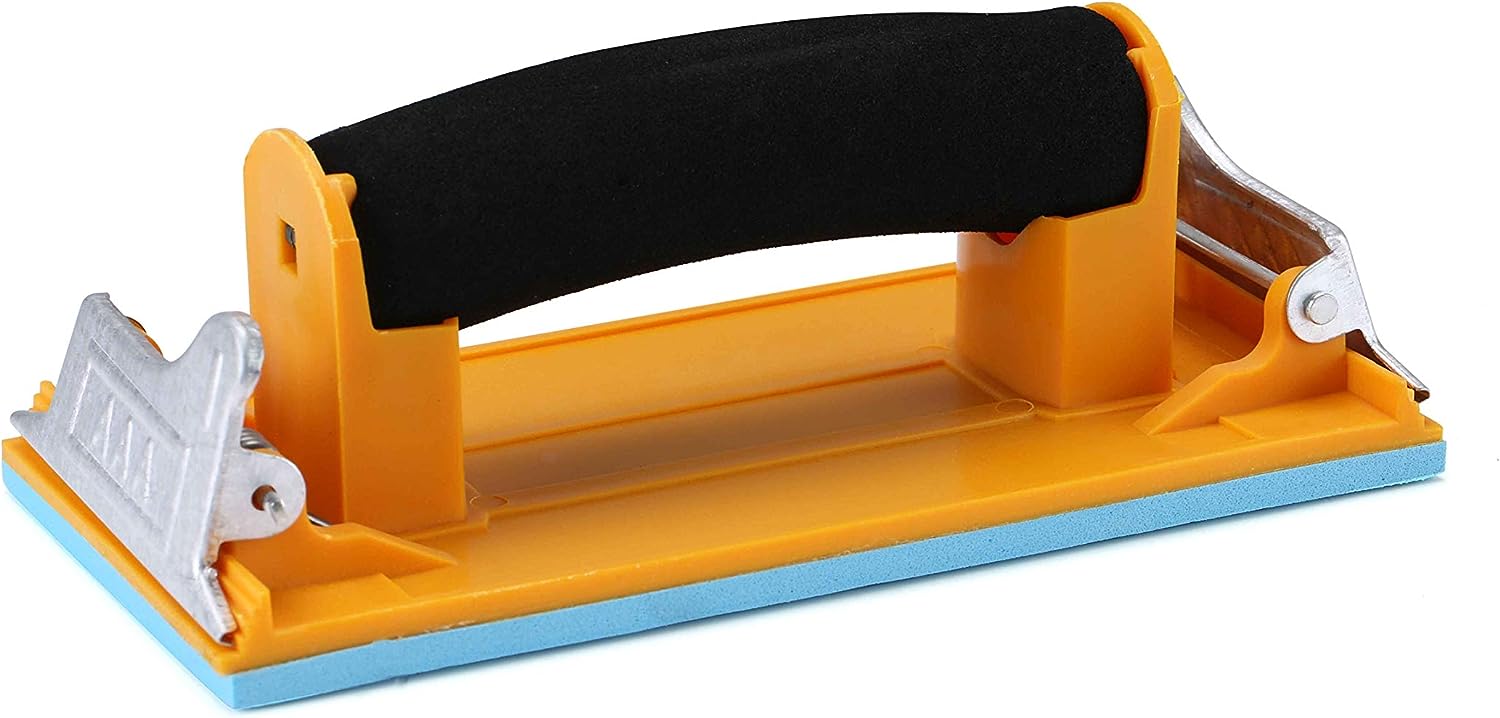
Aouker HS85180 Hand Sander
The Importance of Sanding Metal
Sanding metal is a critical step in the finishing process for several reasons. Firstly, it helps to remove any imperfections or rough spots on the surface, ensuring a smooth and even finish. Secondly, sanding creates a rough texture on the metal, which allows paint, primer, or other coatings to adhere better. This improves the overall durability and longevity of the finished product. Lastly, sanding can also help to remove rust or corrosion from the metal surface, restoring it to its original condition.
Types of Sandpaper for Metal
When it comes to sanding metal, there are several types of sandpaper available, each with its own unique characteristics and applications. Understanding the different types of sandpaper will help you choose the right one for your specific project. Here are some of the most commonly used sandpaper types for metal:
1. Aluminum Oxide Sandpaper
Aluminum oxide sandpaper is one of the most versatile options for sanding metal. It is durable, long-lasting, and suitable for both hand sanding and power sanding. This type of sandpaper is available in various grits, ranging from coarse to fine, allowing you to achieve different levels of smoothness on the metal surface.
2. Silicon Carbide Sandpaper
Silicon carbide sandpaper is another popular choice for sanding metal. It is known for its aggressive cutting action, making it ideal for removing rust, paint, or other coatings from metal surfaces. Silicon carbide sandpaper is available in both wet and dry forms, making it suitable for a wide range of applications.
3. Garnet Sandpaper
Garnet sandpaper is a natural abrasive that is commonly used for sanding wood. However, it can also be used for sanding metal, especially softer metals like aluminum or brass. Garnet sandpaper is available in various grits and is known for its excellent finish and minimal scratching.
4. Wet Dry Sandpaper
Wet dry sandpaper, as the name suggests, can be used both wet and dry. It is made with a waterproof backing, allowing it to be used with water or other lubricants. Wet dry sandpaper is particularly useful for sanding metal projects that require a high level of precision and a smooth finish.
Best Practices for Sanding Metal
Now that we have explored the different types of sandpaper for metal, let’s delve into some best practices to achieve optimal results:
1. Prepare the Surface
Before you start sanding, it is essential to prepare the metal surface properly. Remove any dirt, grease, or rust using a wire brush or sandpaper. This will ensure that the sandpaper can effectively remove imperfections and create a smooth finish.
2. Choose the Right Grit
The grit of the sandpaper determines the coarseness or fineness of the abrasive particles. For initial sanding or removing rust or paint, start with a coarse grit sandpaper, such as 60 or 80. As you progress, move to finer grits, such as 120 or 220, for a smoother finish. It is important to use the right grit for each stage to avoid unnecessary damage to the metal surface.
3. Use Proper Technique
When sanding metal, it is crucial to use the right technique to achieve the desired results. Apply even pressure and move the sandpaper in a consistent back-and-forth or circular motion. Avoid applying excessive pressure, as it can lead to uneven sanding or damage the metal surface.
4. Sand in Stages
Sanding metal is often a multi-stage process. Start with a coarse grit sandpaper to remove any imperfections or rough spots. Then, gradually move to finer grits to achieve a smooth and polished finish. Sanding in stages allows you to control the level of smoothness and ensures a more consistent result.
5. Clean the Surface
After sanding, it is crucial to clean the metal surface thoroughly. Use a clean cloth or compressed air to remove any dust or debris. This will prevent any particles from getting trapped under the paint or coating, ensuring a flawless finish.
Conclusion
Sanding metal projects is a crucial step in achieving a smooth and polished finish. By understanding the different types of sandpaper available and following best practices, you can achieve optimal results. Whether you are working on a small DIY project or a large-scale professional job, choosing the right sandpaper and using proper techniques will ensure a high-quality finish. Remember to prepare the surface, choose the right grit, use proper technique, sand in stages, and clean the surface after sanding. By incorporating these best practices into your sanding process, you can transform your metal projects into works of art.


