Sculpting with Sand Paper: Top Tips and Techniques
Sandpaper, also known as abrasive paper, is a versatile tool that is commonly used in woodworking, metalworking, and other crafts. It is made up of a sheet of paper or cloth with an abrasive material attached to one side. Sandpaper comes in various grits, which determine the coarseness or fineness of the abrasive particles. Whether you are a professional sculptor or a hobbyist, sandpaper can be an invaluable tool in your sculpting process. In this article, we will explore the top tips and techniques for sculpting with sandpaper, and how to achieve the best results.
Understanding Grits and Choosing the Right Sandpaper
When it comes to sandpaper, the grit refers to the size of the abrasive particles on the paper. The higher the grit number, the finer the particles and the smoother the finish. Here are some common grits and their recommended uses:
- Coarse Grit (40-60): Ideal for removing material quickly, shaping rough surfaces, and removing paint or varnish.
- Medium Grit (80-120): Suitable for smoothing rough surfaces, removing scratches, and preparing surfaces for finishing.
- Fine Grit (150-180): Used for final sanding before applying a finish, removing small imperfections, and achieving a smooth surface.
- Extra Fine Grit (220-400): Perfect for sanding between coats of finish, achieving a glass-like smoothness, and polishing surfaces.
When choosing sandpaper, consider the material you are working with and the desired outcome. For example, if you are sculpting a piece of hardwood, you may start with a coarse grit to shape the wood and then progress to finer grits for a smooth finish. On the other hand, if you are working with a delicate material like clay, you would want to start with a finer grit to avoid damaging the surface.
Proper Sanding Techniques
Now that you have chosen the right sandpaper for your project, it’s time to learn some proper sanding techniques. These techniques will help you achieve the best results and avoid common mistakes.
1. Sand with the Grain
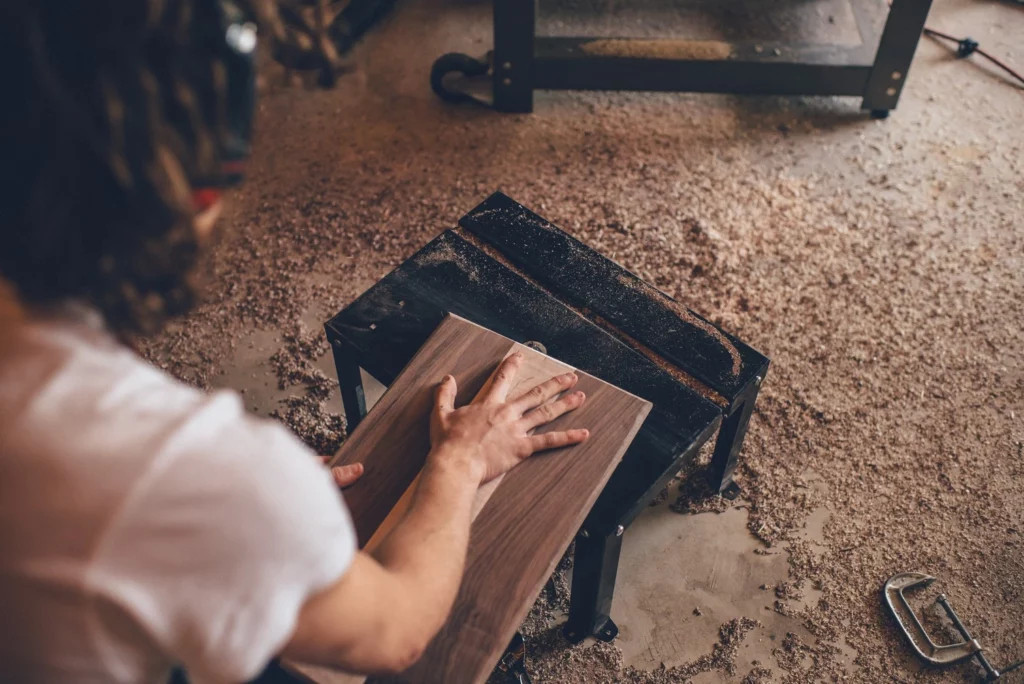
When sanding, always follow the direction of the grain. Sanding against the grain can cause scratches and damage the surface. By sanding with the grain, you will achieve a smoother finish and prevent any unwanted marks.
2. Use Light Pressure
Applying too much pressure while sanding can result in uneven surfaces and excessive material removal. Instead, use light and even pressure to ensure a consistent finish. Let the sandpaper do the work for you.
3. Change Sandpaper Regularly
As you sand, the abrasive particles on the sandpaper wear down, reducing its effectiveness. It is important to change the sandpaper regularly to maintain optimal performance. A worn-out sandpaper can leave scratches and produce an uneven finish.
4. Sand in Stages
For larger projects or when shaping intricate details, it is best to sand in stages. Start with a coarse grit to remove excess material and shape the sculpture. Then, progress to finer grits to refine the surface and achieve a smooth finish. This gradual process will help you achieve better control and precision.
5. Use Sanding Blocks
Sanding blocks are a useful tool for achieving even pressure and preventing uneven surfaces. They provide a flat and stable surface to hold the sandpaper, allowing for consistent sanding. Sanding blocks are especially helpful when sanding large areas or flat surfaces.
6. Wet Sanding for a Smooth Finish
Wet sanding involves using water or a lubricant to reduce friction and achieve a smoother finish. This technique is particularly effective for achieving a glass-like surface on materials like glass, metal, or plastic. Wet sanding can also help prevent clogging of the sandpaper with debris.
Common Mistakes to Avoid
While sanding is a straightforward process, there are some common mistakes that can hinder your progress. By being aware of these mistakes, you can avoid them and achieve better results.
1. Skipping Grits
Skipping grits and jumping from a coarse grit to a fine grit can result in an uneven finish. Each grit level serves a purpose in the sanding process, and it is important to progress gradually. Skipping grits can leave behind scratches or imperfections that are difficult to remove.
2. Sanding Too Much
Over-sanding can lead to the loss of fine details and the creation of uneven surfaces. It is important to sand conservatively and check your progress frequently. Remember, you can always remove more material, but you cannot add it back.
3. Neglecting Safety Precautions
Sanding can produce fine dust particles that can be harmful if inhaled. It is important to wear a dust mask or respirator to protect your lungs. Additionally, wearing safety goggles and gloves can prevent any injuries from flying debris.
4. Not Cleaning the Surface
Before sanding, make sure the surface is clean and free from any debris or contaminants. Sanding over dirt or dust can cause scratches and affect the final finish. Use a brush or a tack cloth to remove any loose particles before starting the sanding process.
Conclusion
Sculpting with sandpaper can be a rewarding and creative process. By understanding the different grits and choosing the right sandpaper, using proper sanding techniques, and avoiding common mistakes, you can achieve professional-looking results. Remember to always work with the grain, use light pressure, and change sandpaper regularly. Sanding in stages and using sanding blocks can help you achieve better control and precision. Consider wet sanding for a smooth finish, especially on materials like glass or metal. By following these tips and techniques, you can take your sculpting skills to the next level and create stunning works of art.


